So, this summer of 2023 has started out really weird. Going into it I felt a lot of frustration. The teenager’s attitudes had been wild. I said “that’s it, they need things to do this summer”. So I made a chore chart for each of the kids rooms titled “Daily Room Chores” and they were all customized with graphics and colors that we felt suited them and each had their name on the top.
I had my husband present the charts to his kids, along with a family household chore chart. The household chore rules were simple – do the chores under the daily, weekly, and bi-weekly sections or don’t – we didn’t care. I presented the charts to my kiddo (7) when she retuned from her dads that Wednesday. In hindsight I’m sure the older kids knew who made the friggin charts. There’s no way my husband would be playing with graphics like that, but anyhow, we thought it might go over better if we presented them to our own respective kiddos.
The household chore rules were so simple because we explained that no matter what, the things needed to be done. So, they could help or not, but if things were not done then we couldn’t do the other fun things on our list for summer (and they’d lose their electronics for that evening – this is clutch mamas).
The charts had the opposite effect on the kids I expected. I expected some pushback, at least initially, especially from the 13 year old girl. However it appears it’s been exactly what she’s needed. The 15 year old boy on the other hand? He’s going to have to feel the pain of the loss of electronics I think to really feel the pain – honestly I’m not even sure that will work, but we’ll see.
The 7 year old initially was super excited, but that wore off really quick. I’m going to have to implement a few other tricks to get her consistently on board, but she DID say to her step-sister yesterday she wanted to help more around the house – so there’s that.
The other thing the girls (7 and 13) are doing this summer (15 year old didn’t want to participate – see above), is a summer reading program through the library. Again, the 13 year old has been THRIVING. She’s read over 900 minutes in 3 weeks. For a kid who has routinely disliked reading, this is amazing. There’s prizes involved that include gift cards for teens, and I’ve dangled a few other carrots along the way. We went to the bookstore last weekend and she loved it. Seeing her start to pick out her own style (including a two piece bathing suit – more on that later – dad is doing fine) to include the books she reads has been really amazing.
If you want a copy of the chart, you can grab it here. Family Chart.
If you'd like the room charts, I was silly and didn't save each one individually on my Canva, but I can send them to you. Just comment "room chores", and I'll send it to you!
First things first...
Some of these links are affiliate links, which means when you click on them, I may receive a small commission when you purchase the product! How cool is that? You get the product and also support my business, which then allows me to keep bringing you more free content (and maybe a little wine money too). I ONLY RECOMMEND products that I have personally used and love. Thank you so much for your support!
Some of these links are affiliate links, which means when you click on them, I may receive a small commission when you purchase the product! How cool is that? You get the product and also support my business, which then allows me to keep bringing you more free content (and maybe a little wine money too). I ONLY RECOMMEND products that I have personally used and love. Thank you so much for your support!
Everyone looks at these beautiful pictures and ideals of perfectly curated homes and all the stay at home, cozy, homesteading vibes. How can you get that feel when you simply don’t have time?
Speaking of time, you can skip to the recipe here.
Look, this isn’t a knock at SAHM’s. It’s a hard job. So is being a working mom and still having these healthy, always present expectations that we place upon ourselves because that is what society shows us.
Anyway, we jut had a great rainstorm last night and it’s October 1st as I write this, with my chicken stock simmering on my gas stovetop. I’ve got ALL the fall vibes up in here today. Also, I like to maximize my time because I’m a mom! I don’t have extra hours; I have to get things in where we can fit them in.
Here is my simple and time saving chicken stock recipe.
First to clarify, stock is made from bones and simmered for longer.
Ok, now that that’s out of the way, my first time saving step is this: skip roasting the chicken. Unless you’d already planned on meal prep or happen to roast a chicken last night for dinner, skip it. Go grab a rotisserie chicken from the grocery store. I’m serious!
Next, take the meat off the bones. As much as you can muster or have the patience for. Use it for dinner the night before you make your stock, or make chicken salad for the week, or save it for chicken soup later (that’s what I’ll be doing today).
Then add all of the bones unto a large stock pot. I cant emphasize LARGE stockpot enough. You don’t need anything fancy. If you don’t already have one, try this one from amazon.
Next, add unpeeled carrots cut maybe in half. You just want them to fit. Add celery cut the same way, LEAVES INCLUDED. Seriously, it adds more flavor.
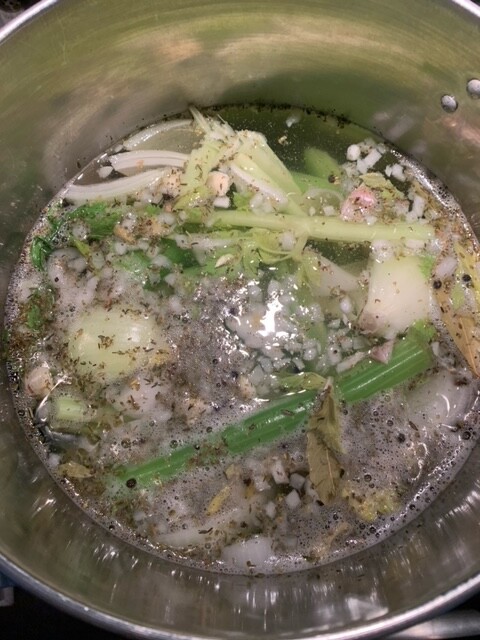
Add crushed garlic, an onion cut in quarters, and whatever fresh or dried spices you prefer. Fresh spices if you have them will add more flavor but this is about ease and saving time right? I used Italian seasoning in this last batch (basil, oregano, rosemary, marjoram, thyme, and sage). I also added 2 bay leaves, peppercorns, garlic powder (yes even with the fresh garlic), add some salt. If you rather add salt to your dishes you make with the stock later you can add less salt or no salt. It depends on your preference and dietary needs.
Add water to cover everything and bring it to a boil. Once boiling, reduce to a simmer and allow to simmer for 2 hours or more. The bones should get soft and turn rather gelatinous. When it’s done, strain the stock through a colander and into a container large enough to hold the liquid. I like the large pyrex measuring cups for this.
Allow the stock to cool. Skim off any fat that comes to the top and discard. Then use as needed.
You can store this in the refrigerator for 4-5 days. If I have extra, I put a cup or 2 into zip lock bags, and lay them flat in my freezer to freeze. I do this especially with turkey stock after thanksgiving and then I’m good to go with soup stocks to use all winter long!
Easy Chicken Stock Recipie:
Prep time: 15 minutes
Total time: 3 hours
Ingredients:
- Chicken bones from rotisserie chicken or roasted chicken
- A few stalks of celery (5 or so will do, with leaves)
-4-5 carrots, unpeeled, halved
-1 onion, quartered
-2 bay leaves
-1Tbsp whole peppercorns
- Salt (how much is entirely up to you)
-Fresh garlic (I used 4 cloves)
-Fresh or dried spices. I prefer garlic powder, thyme, rosemary, basil, oregano, and sage. But use what you like!
Directions:
- Add chicken bones to large stock pot
- Add Fresh veggies to stock pot
-Cover with water
-Add fresh and/or dried spices to stock pot
-Bring to a boil
-Reduce to a simmer and cover loosely with lid
-Simmer for at least 2 hours or until bones are gelatinous and stock is a golden yellow color
-Strain off bones and veggies while keeping the stock
-Allow to cool and remove fat from the top with a spoon
-Use in soup immediately or store for future use 4-5 days in refrigerator or freeze
I hope you stay warm and cozy this fall and winter and I hope this recipe helps save you some time while also giving you all the cozy homemade warmth you're craving!

First things first...
Some of these links are affiliate links, which means when you click on them, I may receive a small commission when you purchase the product! How cool is that? You get the product and also support my business, which then allows me to keep bringing you more free content (and maybe a little wine money too). I ONLY RECOMMEND products that I have personally used and love. Thank you so much for your support!
Some of these links are affiliate links, which means when you click on them, I may receive a small commission when you purchase the product! How cool is that? You get the product and also support my business, which then allows me to keep bringing you more free content (and maybe a little wine money too). I ONLY RECOMMEND products that I have personally used and love. Thank you so much for your support!
Ok, so whether you’ve been here for a while or you’re just reading for the first time, there are a couple things you should know. 1. I’m a mom and stepmom. 2. I hate fluff and bullshit. 3. I love to save a penny (see #1).
Another thing about me is I love using plant based, natural products in my home. One of those products is my laundry detergent. I mean, think about it – our skin is our largest organ. Within seconds of a chemical being placed on our skin it is absorbed into our bloodstream.
That being said, it makes perfect sense to start with your laundry detergent and household cleaners if you’re ready to move toward better products for our health. My laundry detergent of choice, is the Thieves line offered by Young Living. At over $30 a bottle this can make you want to put on the breaks and crawl back to the stuff filled with synthetic fragrance (which give me such a headache). Stop. Right. There.
Grab my hack below on how you can stretch your laundry detergent to stretch your budget. Like many other detergents on the market, the Thieves laundry detergent is highly concentrated. So, I split mine into thirds in order to stretch it further, without sacrifice the cleaning power.
Rather watch a video? You can see how super simple this money saving hack on my YouTube channel here.
What you will need:
- 1 bottle Thieves laundry detergent
- Thieves household cleaner concentrate (you will need about 6 capfuls for this recipe, so save the rest for a tub scrub, an all-purpose spray, and store the rest for refills and grass stained knees!)
- Purification essential oil
- Lavender essential oil
- 3 pump bottles. I use these bottles from Amazon.
- warm water
Directions:
- Split the bottle of Thieves laundry detergent between the 3 bottles
- Add 2 capfuls of Thieves household cleaner (I recommend using a funnel for this…I didn’t use it last time and well, if you check out my video you can see my mess)
- Add 20 drops of Purification essential oil to each bottle
- Add 20 drops of Lavender essential oil to each bottle
- Slowly fill the bottles with warm water, being sure to leave room for the caps
- Cap the bottles with the pumps
- GENTLY shake the bottles until mixed
That’s it! Use about 2 pumps per full size load of laundry. I tend to not pay attention and probably add 3-4, but that’s not necessary. You should gently mix the detergent before use since the different parts will separate some over time.
This gives my family of five, about nine months of detergent, doing about one load every day. If you need to grab some of the products listed above and you don’t have an account or don’t already have someone to help you, shoot me a message below and I’d be happy to help!
I’m always looking for ways to keep my 4 year old busy, learning, and entertained. Especially right now. I’m currently working from home, playing mom, teacher, biologist, and entrepreneur. Honestly you guys, just typing all of those things out made me tired!
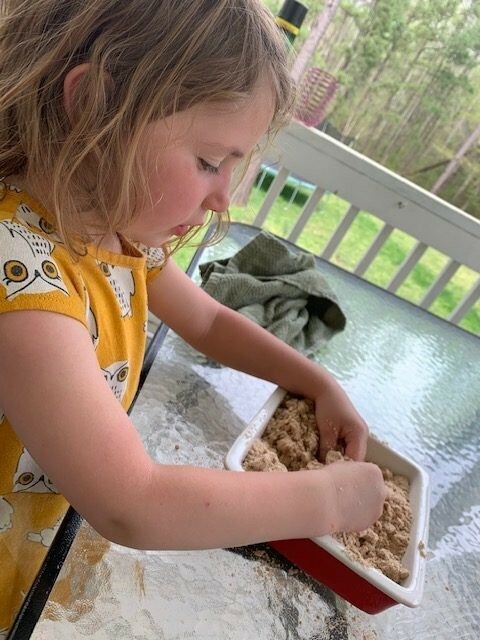
So, I want to share with you this easy DIY “sand” recipe that I made with my daughter today. It's super easy whether you're a total DIY Pinterest mom, an Amazon Prime mom, or somewhere in between. I definitely fall into the in between category. Don't give me something with too many ingredients or too many steps or I'm over it. Ok, on with it...
First, my recommendation is to do this outside if possible, and/or be prepared for some mess. It was however super easy to clean up, and a great sensory activity for her.
For this play sand you will need:
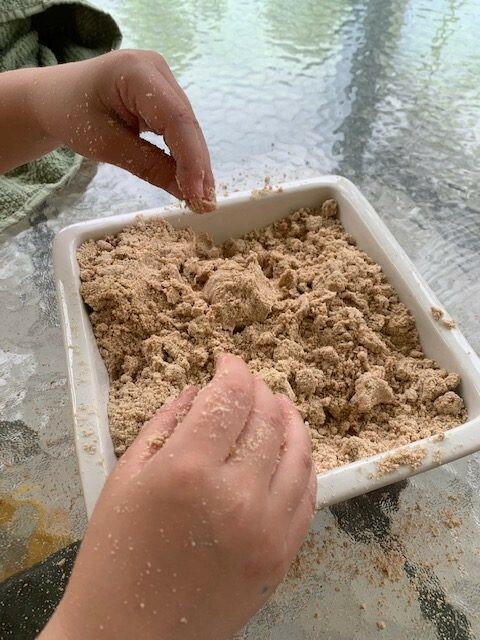
- A large bowl or pan for mixing and for them to play with the “sand” in. I used a baking dish and it worked perfectly!
- 2 cups flour (I used whole wheat flour because that’s what I had on hand, and it helped it look like actual sand as well – win!).
- 1/4 cup of vegetable oil. I added slightly more to get the right consistency.
- Optional: 2-4 drops of essential oil of your choice.
- Mix, and Play!
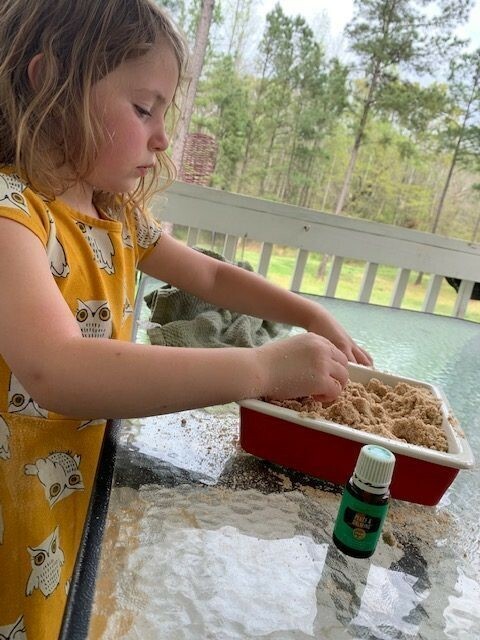
Some fun extras we used were a plastic cup to make a “sandcastle”, and play dinosaurs (to knock down said castles, obviously). Allow them to use their imagination!
From making the sand, to playtime, this activity kept my 4 year old occupied for a good hour. Anything garnering that much attention deserves to be shared with the universe! Don't you agree?
Like this content? Join me in the (re)inspired and mindful moms group here.

First things first...
Some of these links are affiliate links, which means when you click on them, I may receive a small commission when you purchase the product! How cool is that? You get the product and also support my business, which then allows me to keep bringing you more free content (and maybe a little wine money too). I ONLY RECOMMEND products that I have personally used and love. Thank you so much for your support!
Some of these links are affiliate links, which means when you click on them, I may receive a small commission when you purchase the product! How cool is that? You get the product and also support my business, which then allows me to keep bringing you more free content (and maybe a little wine money too). I ONLY RECOMMEND products that I have personally used and love. Thank you so much for your support!
There’s a reason everyone is crazy over lavender and referring to it as the “swiss army knife of essential oils”. While I’m sure there are uses for lavender that I haven’t even encountered yet, I sure do use it for about everything. Many people know lavender is used by many for relaxation. The same properties that make lavender a go to in promoting a relaxed state, are those that make this oil have an incredible number of other uses as well. When in doubt, this is the oil I reach for first. Skeptical? A quick google search of the uses of lavender should change your mind. Here are the top 5 ways that I use Lavender regularly.
Read to the end and grab my free recipe for simple, DIY makeup remover pads.
Read to the end and grab my free recipe for simple, DIY makeup remover pads.
1. Burns/cuts
Ok, so burns and cuts are technically 2 different things. The point is, lavender is great for your skin. Have a cut or scrape? Throw a drop or 2 of lavender on it, rather than reaching for an OTC medicated ointment. In my experience, cuts heal faster, scar less, and burns? Lavender has been a lifesaver for me whether it’s after a day that I forgot to apply my sunscreen, or if I burn my arm cooking all the toddler snacks…Oh and dinner…that too.
Ok, so burns and cuts are technically 2 different things. The point is, lavender is great for your skin. Have a cut or scrape? Throw a drop or 2 of lavender on it, rather than reaching for an OTC medicated ointment. In my experience, cuts heal faster, scar less, and burns? Lavender has been a lifesaver for me whether it’s after a day that I forgot to apply my sunscreen, or if I burn my arm cooking all the toddler snacks…Oh and dinner…that too.
2. Skin/Beauty
While I already mentioned how great lavender is for skin, it goes beyond help with the occasional injury. I add lavender to my skin daily! The shampoo I use already has lavender in it (mom win). Another way I use lavender is in my mascara. One drop to a new bottle not only smells amazing, but it also helps give my lashes some growth support! As I mentioned above, I also make a DIY makeup remover and I add lavender to that as well.
3. Outdoors
I have lavender plants around my back deck to keep those summer time pests away. No wonder then, that the oil helps with this as well. When I do forget my insect repellent or essential oils and I get a bug bite (they love me), I reach for lavender every single time for skin support (see above) to help take the itchiness away and decrease the swelling of my bites.
4. Sleep Support
This is the one that most people think of when they think of lavender. Every baby product and product designed for relaxation has, or claims to have lavender in it. The key to getting the best results is using quality essential oils.
5. Cooking/Drinking
Say what? Yes! Dip a toothpick in the bottle and stir into a glass of lemonade, or add a drop to a lavender cookie recipe!
Here's the recipe I use for my DIY makeup remover. It's super easy, effective, and leaves my skin feeling great!
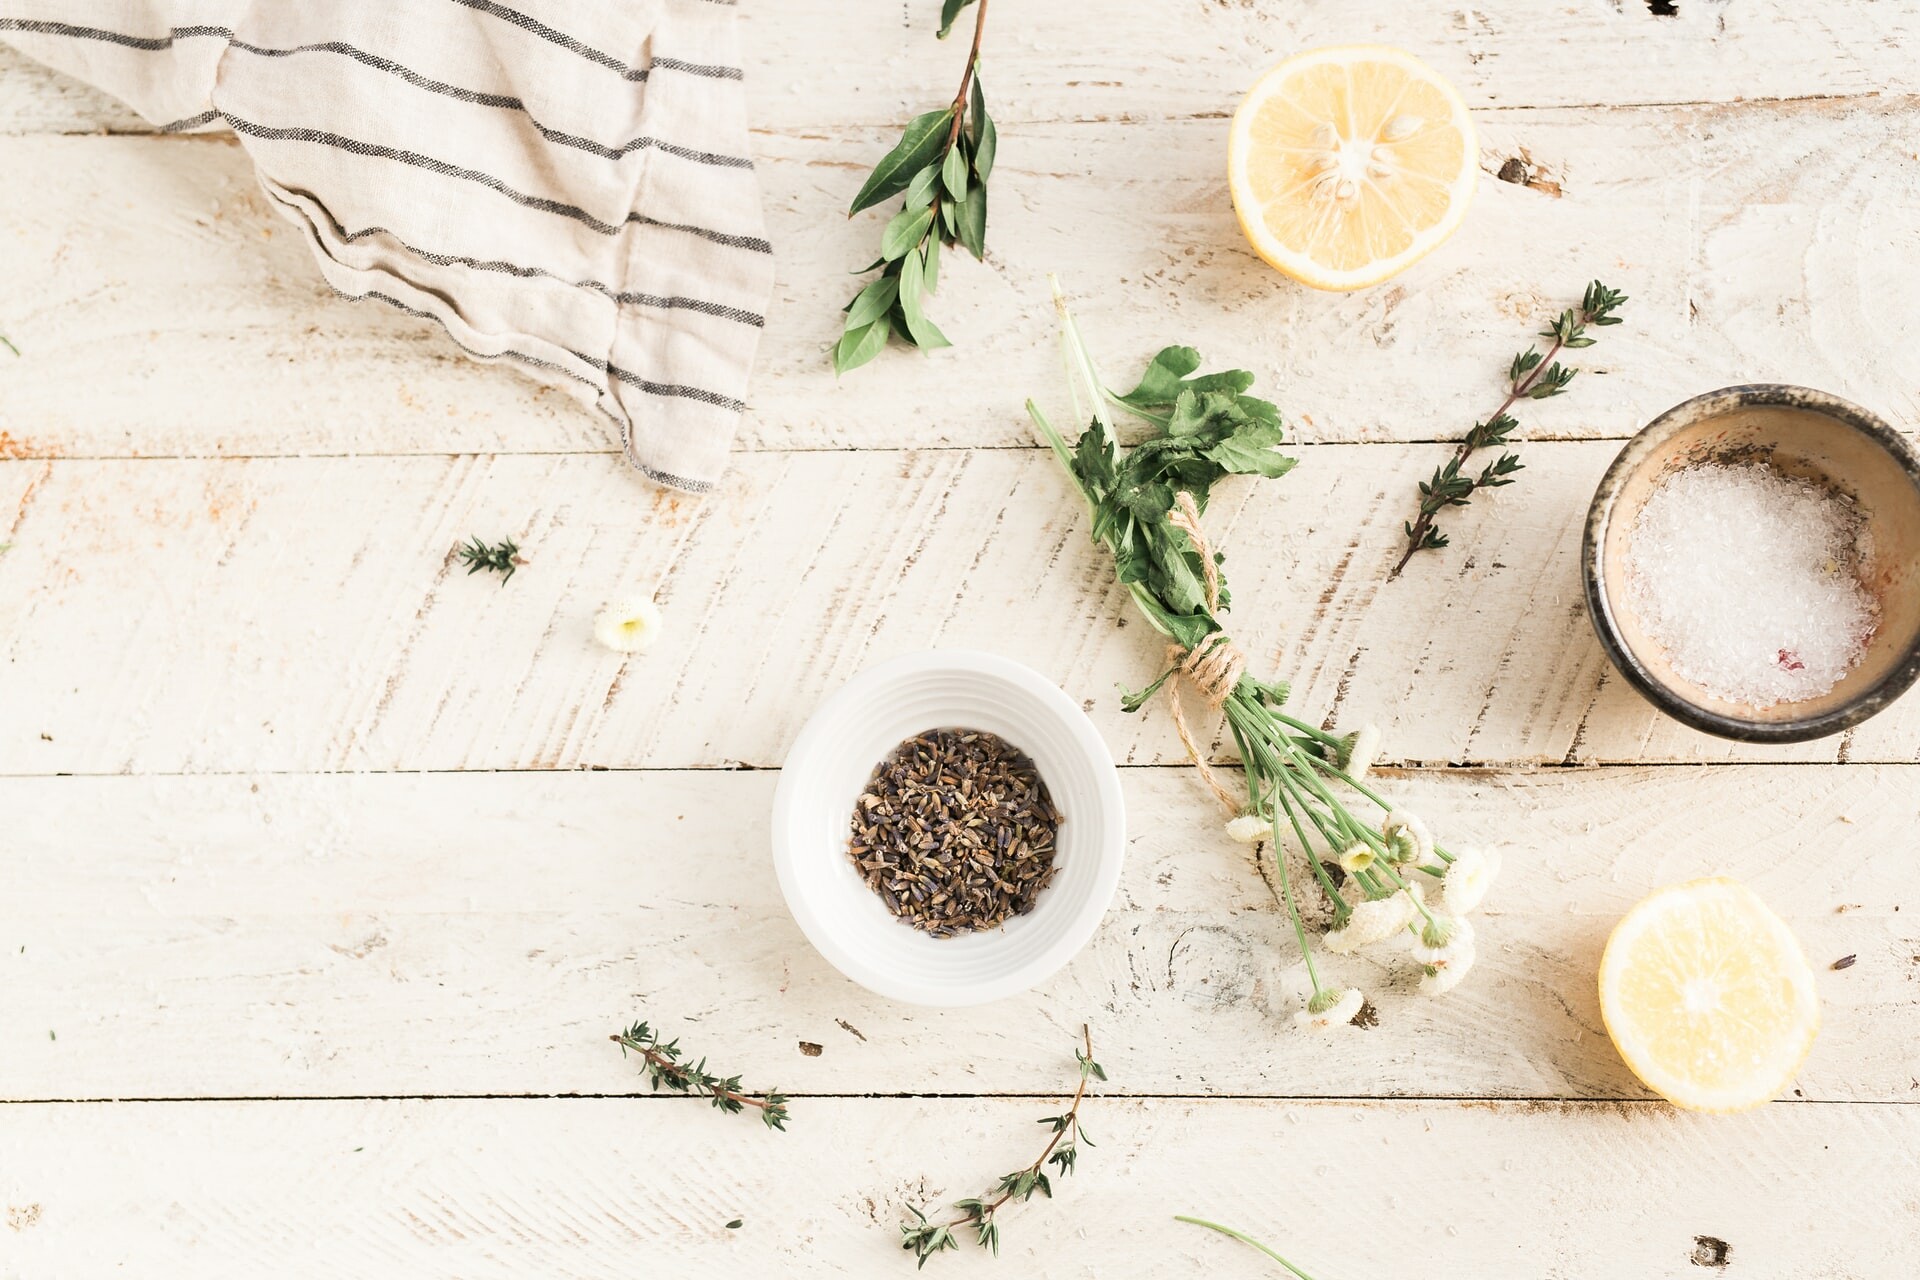
Ingredients:
- Round Cotton pads. I use and recommend these.
- A 4oz glass jar, like these.
- 1 TBSP witch hazel. You can find it here.
- 2 TBSP Fractionated coconut oil. This one is my favorite.
- 2 TBSP water
- 4 drops Lavender essential oil
- 2 drops Frankincense essential oil
Recipe:
- Place as many cotton rounds in the 4oz jar as will fit comfortably.
- Combine the liquid ingredients in a small measuring cup.
- Gently pour the liquid over the cotton rounds.
- Seal the jar.
- To use, take out one cotton round and wipe makeup away!


